Editing Page Content After Switching Themes
Example: Modify Your “Contact Us” Page Using Elementor
🔄 Why This Matters
After switching to a new theme, your website may load a different set of demo pages. To personalize these pages (such as updating your address, images, contact form, or Google Maps), you’ll need to edit each page with Elementor.
This example shows how to modify the Contact Us page.
✏️ Step-by-Step Instructions
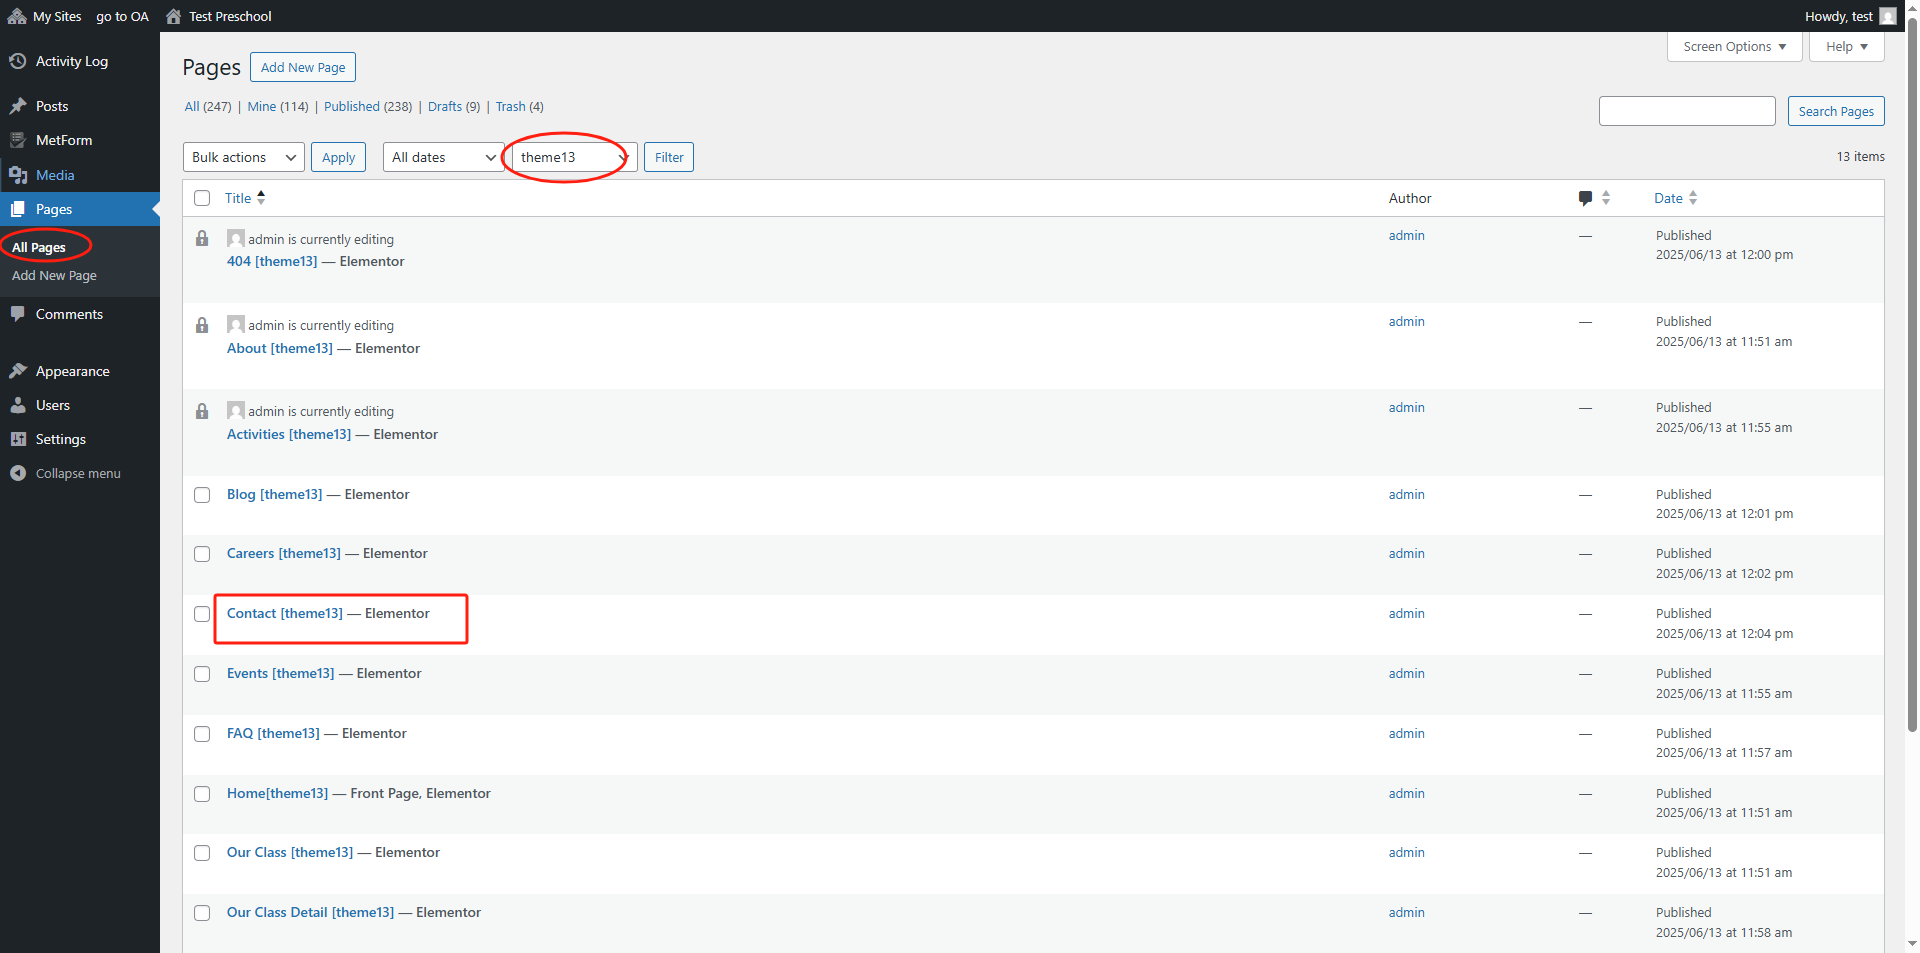
1. Go to “Pages” → “All Pages”
In your WordPress admin dashboard:
- Click Pages → All Pages
- Use the search box to find your current theme pages (e.g.,
theme13) - Locate the page named Contact [theme13] — Elementor
📷 See Screenshot #1 – Page List with Theme Tag
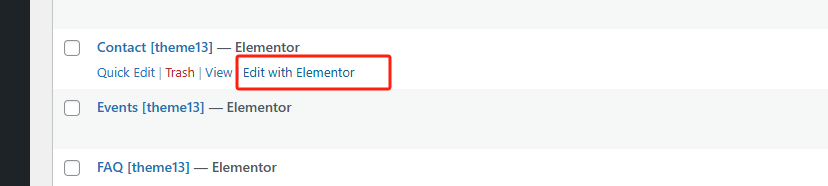
2. Click “Edit with Elementor”
- Hover over the Contact page title
- Click the Edit with Elementor link
📷 See Screenshot #2 – Edit with Elementor Button
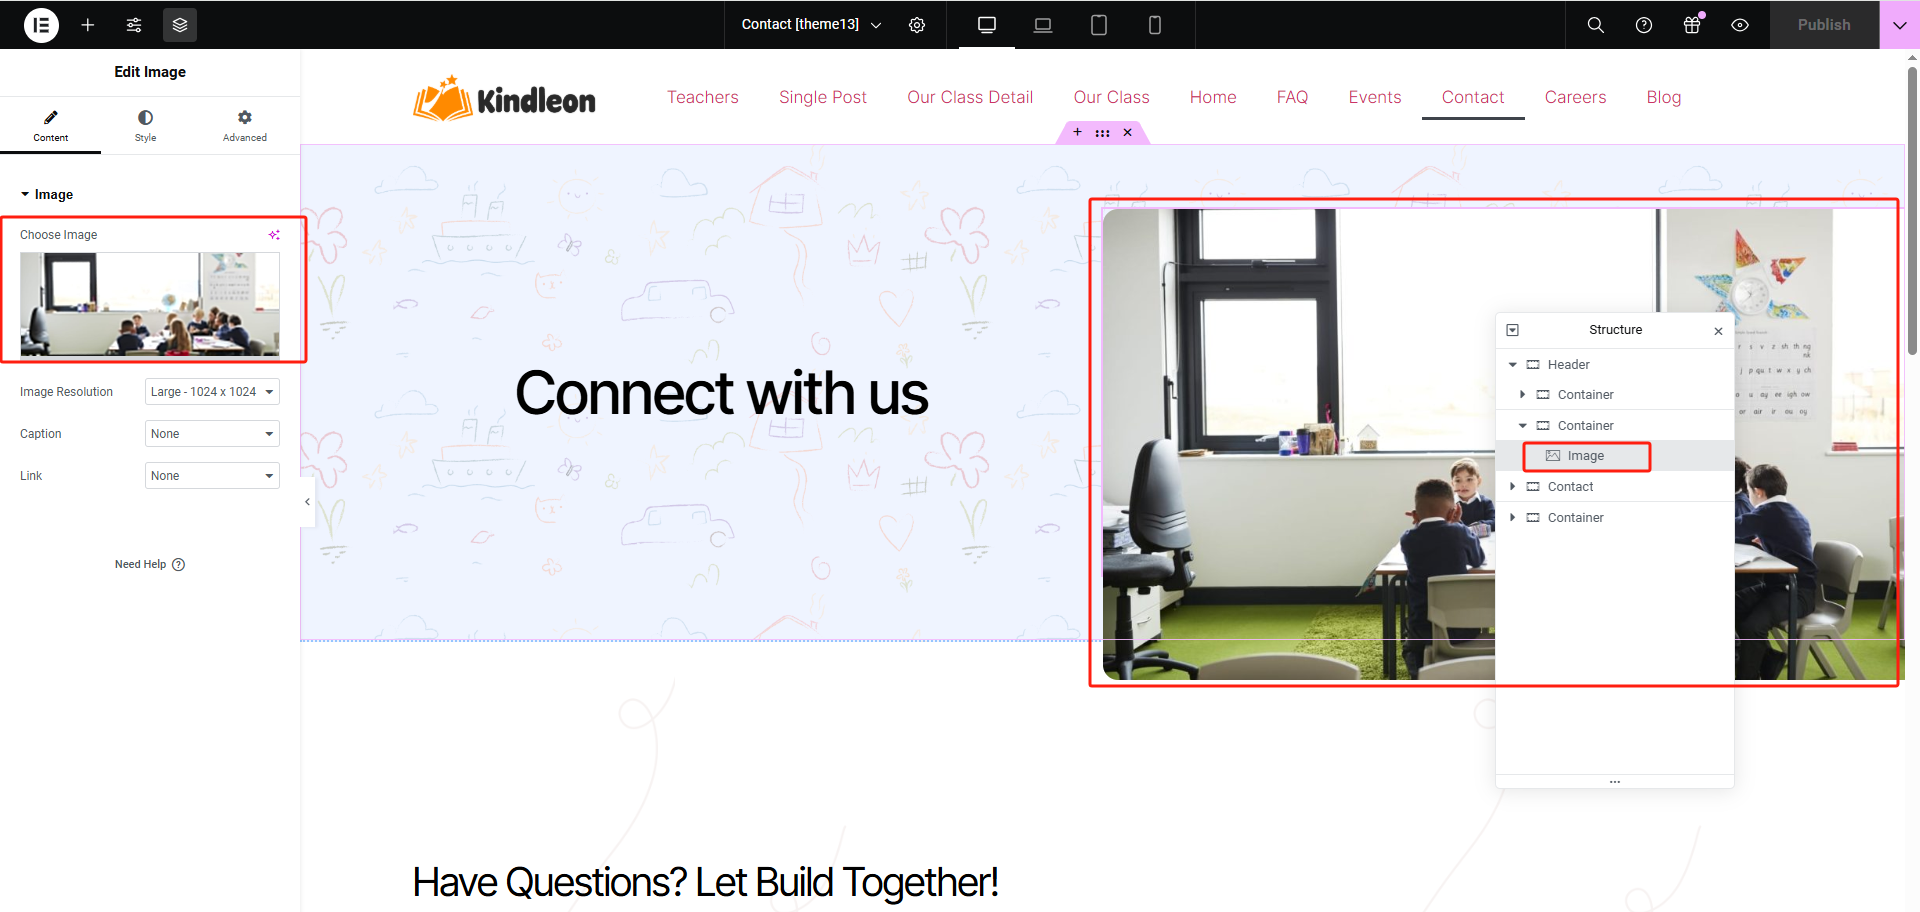
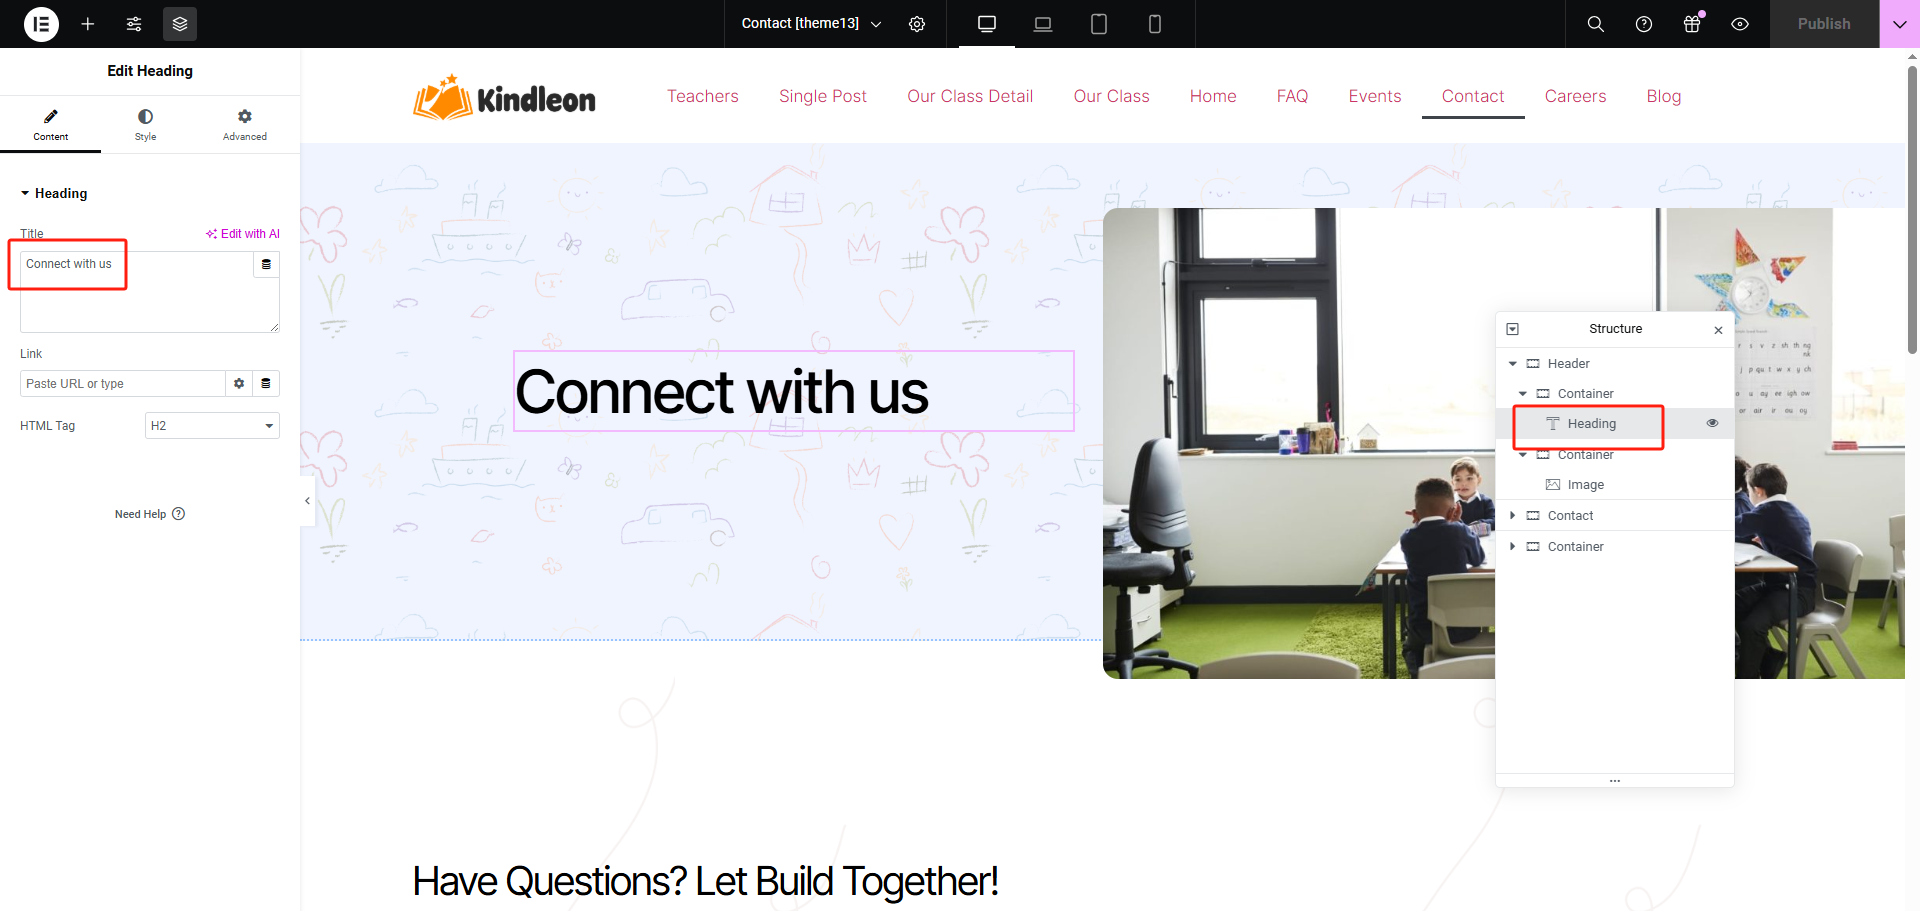
3. Begin Editing in Elementor
You will be redirected to the visual page builder. Here you can:
- Click on text blocks to change the heading (e.g., "Connect with us")
- Click on images to replace them with your own
- Use the left panel to style, adjust spacing, change fonts, etc.
📷 See Screenshot #3 & #4 – Edit text and image blocks
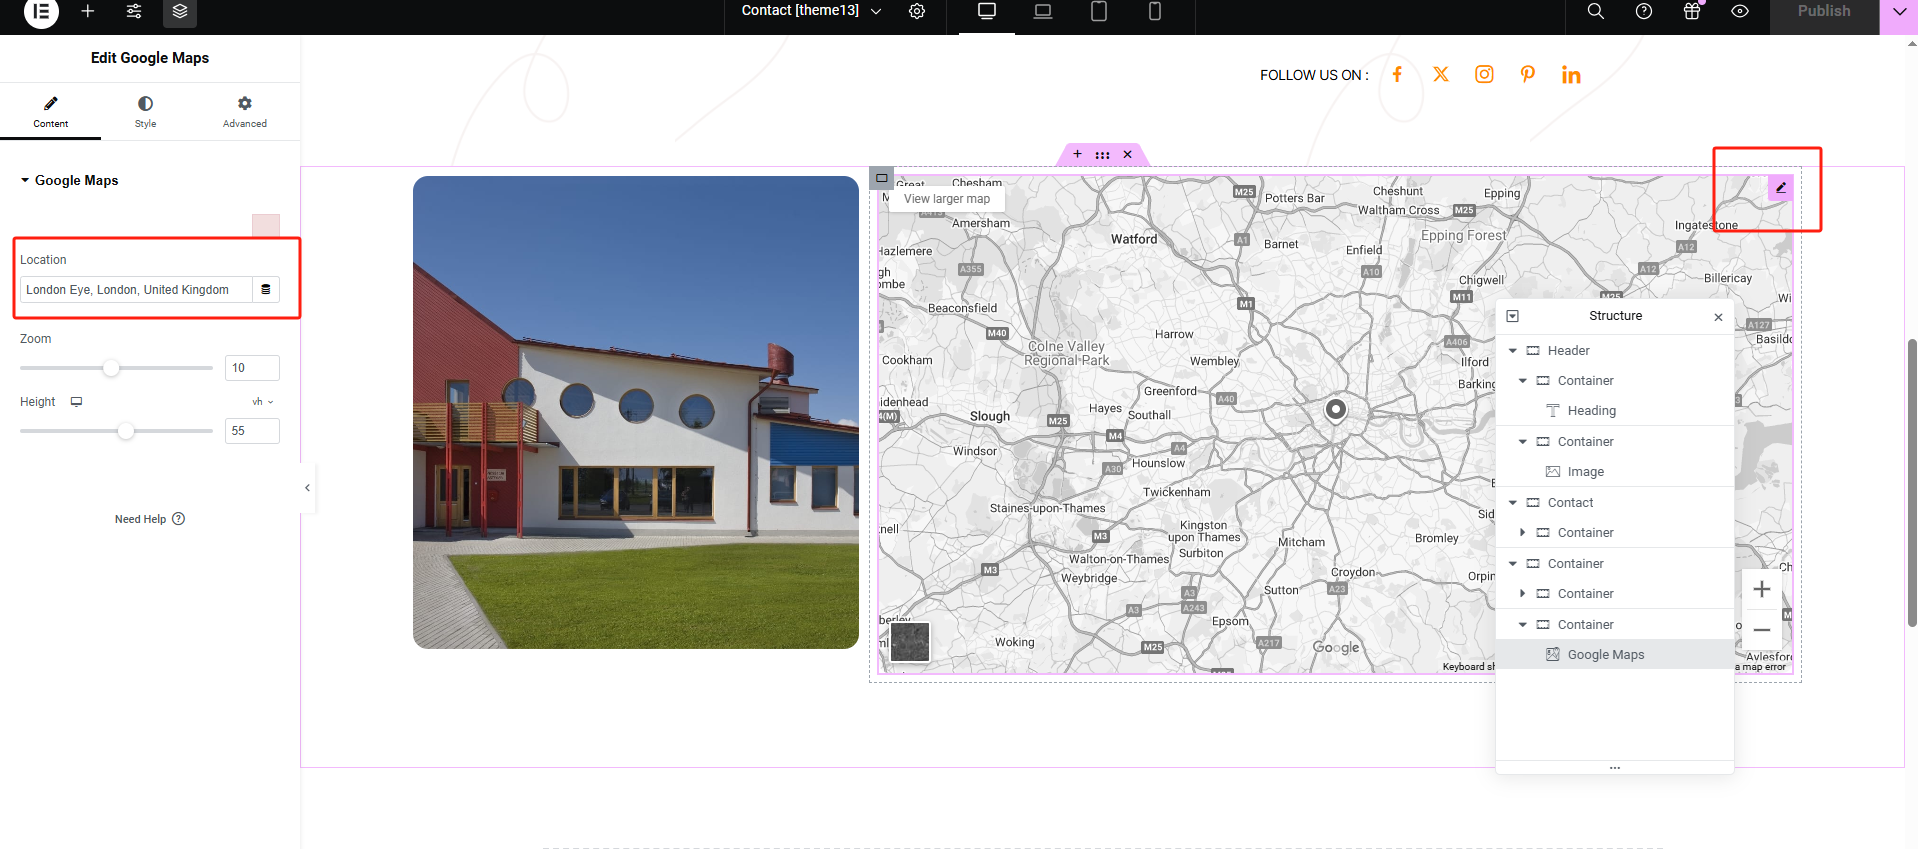
4. Modify Google Maps Location
- Scroll to the map section
- Click the pencil icon in the top-right corner of the Google Maps widget
- In the left panel, update the Location field (e.g., change to your school’s address)
📷 See Screenshot #5 – Update Google Maps Location
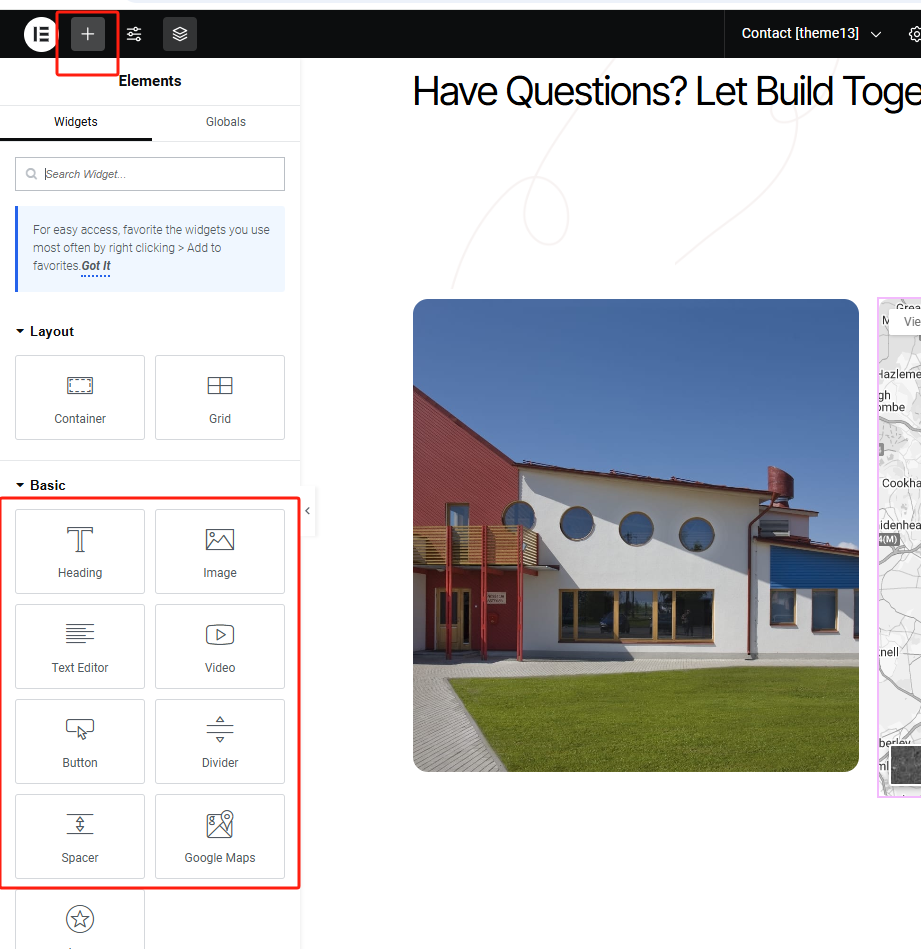
5. Add New Elements (Optional)
- Click the “+” icon at the top to insert a new section
- From the Basic tab, drag in widgets like:
- Heading
- Image
- Text Editor
- Button
- Google Maps
📷 See Screenshot #6 – Widget Insertion Panel
💾 Save Your Work
Once editing is complete, click the Publish / Update button in the top-left to save changes.
✅ Tips & Reminders
- Always double-check content after switching themes. Some layouts may look different across devices.
- You can preview your changes using the responsive mode (desktop/tablet/mobile).
- Use original images and texts — demo content is only for design reference.
Quick Edit a Page in WordPress
Efficiently Modify Title, Slug, Template and More
📌 When to Use Quick Edit?
The Quick Edit feature allows you to make basic changes to a page without opening the full editor. It’s perfect for quickly updating:
- Page title
- URL slug
- Template layout
- Visibility
- Publish status
- Author
- Page hierarchy (Parent)
✏️ How to Use Quick Edit
1. Hover Over the Page Title
- In the admin panel, go to Pages → All Pages
- Hover over a page name (e.g., “About [theme13]”)
📷 Screenshot #7 – Click “Quick Edit” from the options below the title
2. Modify Fields in the Quick Edit Panel
You’ll see an inline form with several editable fields:
| Field | Description |
|---|---|
| Title | The page title shown in navigation and browser |
| Slug | The URL portion after your domain (e.g., /about-us) |
| Template | Select Elementor Full Width, Elementor Canvas, etc. |
| Parent | Assign this page under another page (for hierarchy) |
| Order | Manually set the order for appearance in menus |
| Status | Change page status: Published, Draft, or Pending |
| Visibility | Set as Private or Password-Protected |
📷 Screenshot #8 – Quick Edit Form Interface

✅ Final Step: Click Update
After making your changes, don’t forget to click the blue [Update] button to save them.
⚠️ Quick Edit does not allow you to edit page content. To change text, images, or layout, use Edit with Elementor.
📌 This feature is especially useful for bulk clean-up, renaming demo pages, or assigning the correct page template.
📧 Need help editing other pages? Contact support at support@preschool.zone