Guide to Posting to the Class Feed (For Teachers)
I. Access the Class Page
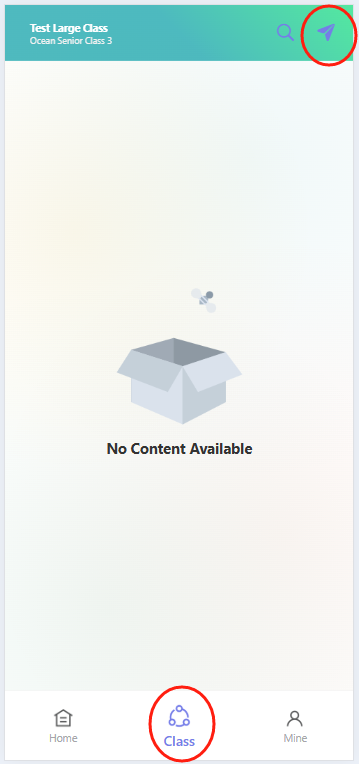
Open theProgressive Web App and tap the "Class" icon (center of the bottom navigation bar) to enter the class page. In the top-right corner of the class page, tap the blue paper airplane-shaped "Post" button to open the post editor.
II. Edit Your Post Content
(1) Add a Title
In the "Write down title" input field, enter a title that briefly summarizes the post (to help parents quickly understand the topic).
(2) Write the Body Text
In the text area below the title, type details about the post (e.g., describing children’s in-class activities or sharing teaching reflections) to keep parents informed.
(3) Add Photos
Tap the photo icon below the text area to select and upload photos from your phone’s gallery (e.g., photos of children participating in class activities) to visually showcase the classroom experience.
(4) Select a Text Template (Optional)
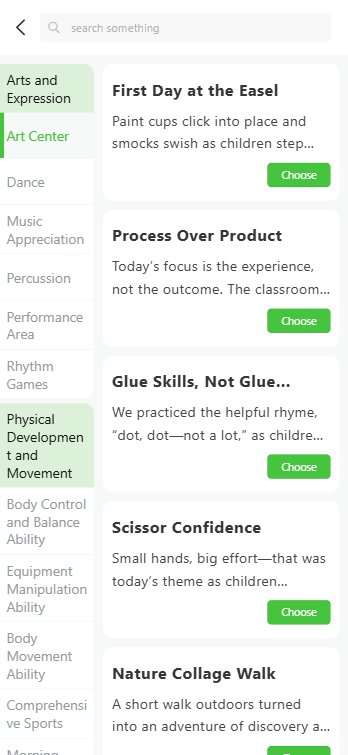
If a pre-made template fits your needs:
- Tap the paperclip-shaped icon next to the photo icon to open the template selection page.
- On the left sidebar, browse template categories by theme (e.g., "Arts and Expression," "Physical Development and Movement").
- On the right, select a specific template and tap the "Choose" button—the template content will auto-fill the body text area. You can edit the text to match your needs.

III. Set Visibility
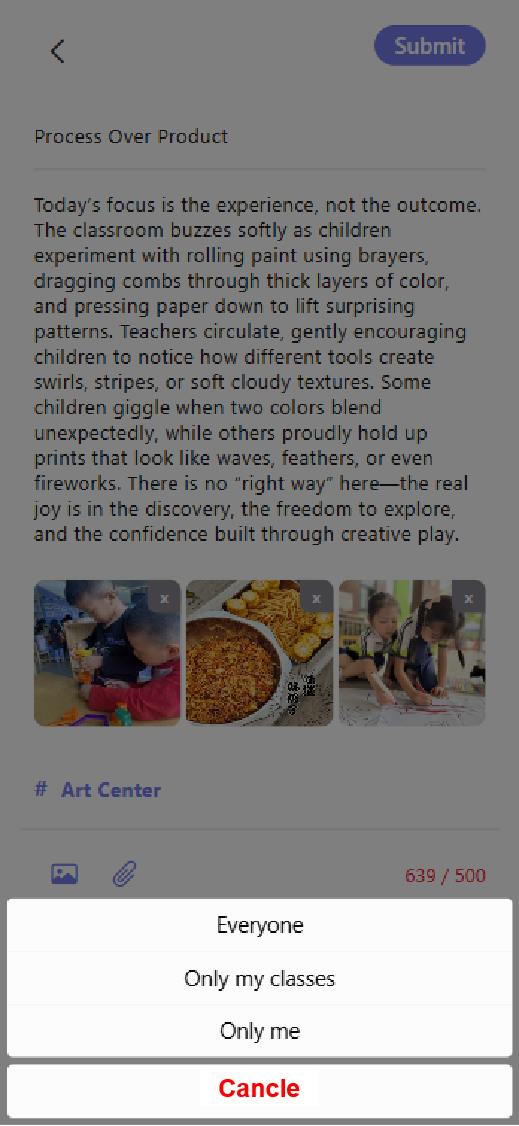
At the bottom of the post editor, tap "Who can see" to open the visibility menu. Select an option based on your needs:
- "Everyone": Post is visible to all users.
- "Only my classes": Post is visible only to members of your class.
- "Only me": Post is visible only to you. Tap "Cancel" to close the menu after selecting.
IV. Publish the Post
After verifying your title, body text, photos, and visibility settings are accurate, tap the "Submit" button in the top-right corner to publish your class feed post.