Guide to Using the Gallery Feature
I. Access the Gallery Page
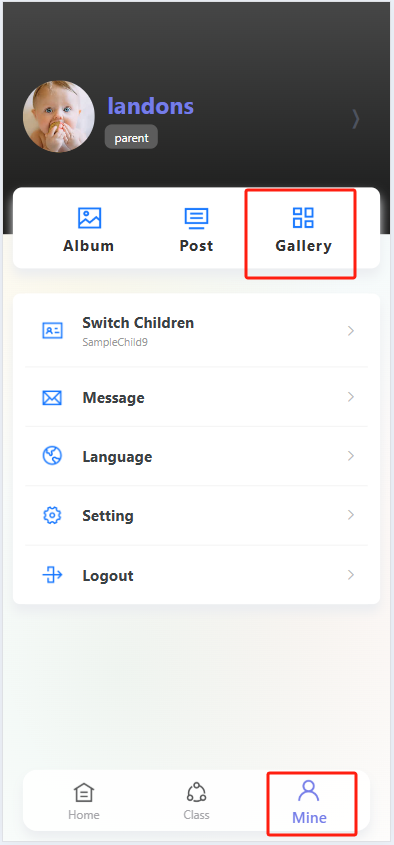
Open theProgressive Web App and tap the "Profile" icon (far right in the bottom navigation bar) to enter your personal profile page. On the profile page, find and tap the "Gallery" option to open the Gallery.
II. View Gallery Content
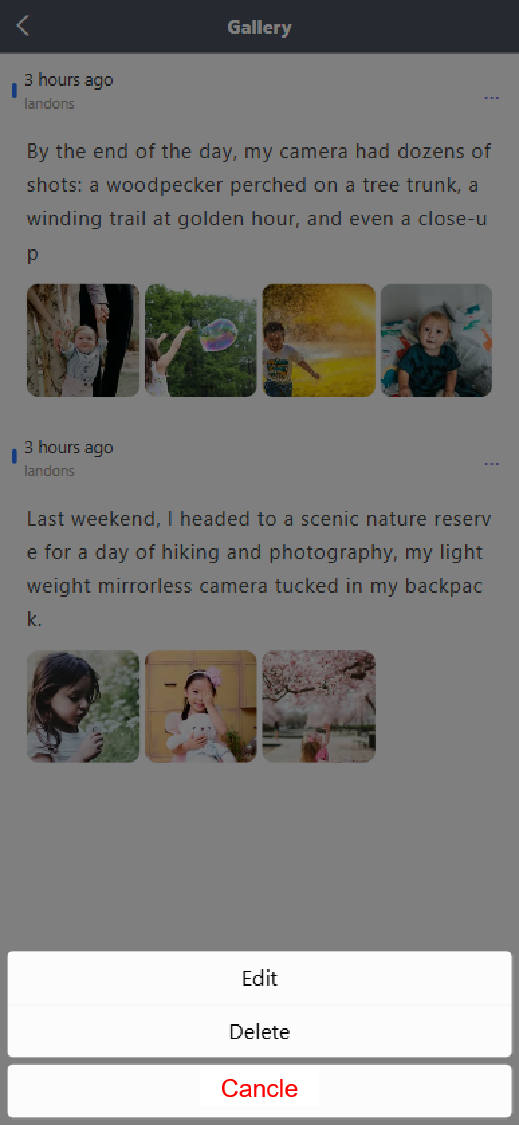
Once in the "Gallery," you will see a date-sorted list of photo-and-text posts. Each entry displays the post’s timestamp, author (e.g., "Landons" as shown in the demo), text content, and related photos—making it easy to review previously saved posts.
III. Edit and Save Posts to the Gallery
To re-edit a post and save it to the Gallery, follow these steps:
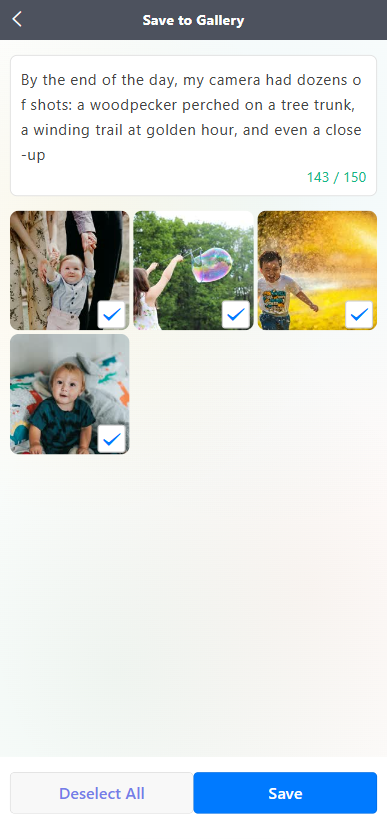
- Navigate to the "Save to Gallery" page. The top section shows the post’s text content (with a character count—e.g., "143 / 150" in the demo means 143 characters used, out of a maximum 150).
- The bottom section displays related photos. Each photo has a checkbox in the bottom-right corner—tap to select photos you want to save (selected photos show a blue checkmark). To deselect all photos, tap the "Deselect All" button.
- After confirming the text content and selected photos are correct, tap the blue "Save" button at the bottom of the page to save the edited post to your Gallery.
IV. Creating an Album
-
First, access the "Create Album" interface. Here, you can view the "Media Resource Type Count". After selecting the resources you want to include in the album, navigate to the "Album Template" selection page.
-
On the "Album Template" page, various templates are displayed by series (e.g., series1, series2, etc.):
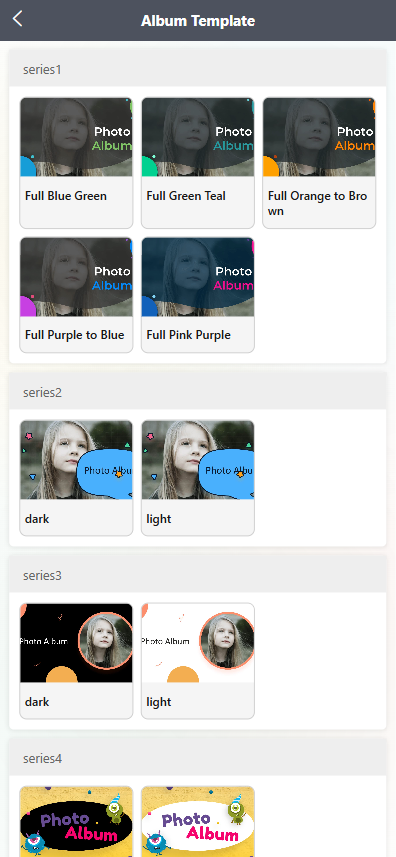
- Each series contains templates of different styles. For example, in series4, there is the "light" template (featuring cute monster elements and bright backgrounds) and the "dark" template (with a dark-color scheme).
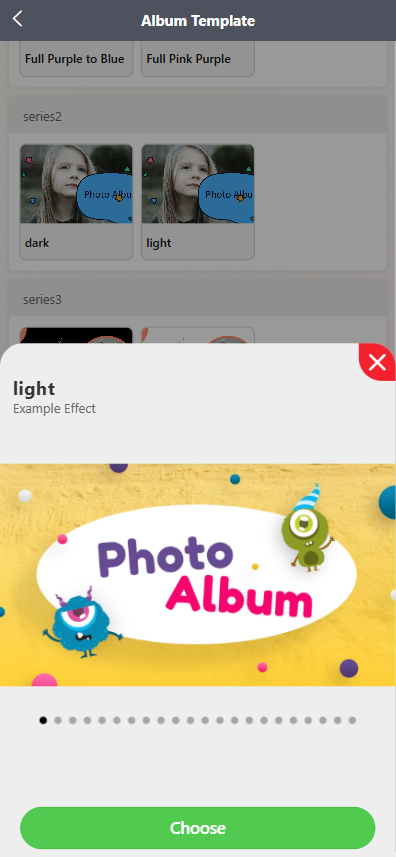
- Click on any template (e.g., the "light" template in series4), and a "Example Effect" preview window for that template will pop up. You can swipe the preview bar to view the multi-page display effect of the template.
-
Confirm and apply the template:
- In the template preview window, if you are satisfied with the template effect, click the green "Choose" button at the bottom to select this template for album creation.
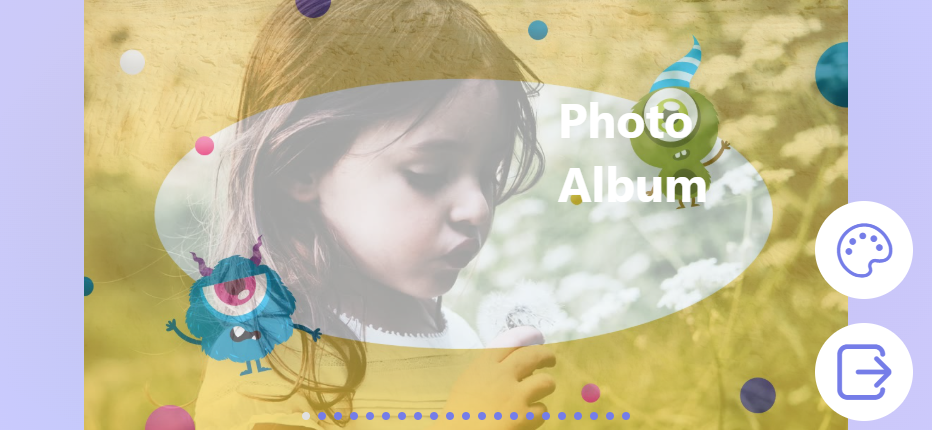
V. Viewing the Final Album
After confirming the template selection, return to the Personal Center page. Click the "Album" option to view the album generated with the selected template (e.g., the "Photo Album" display with cute elements and the corresponding style).