Class Management
The Class Management section allows administrators to view and manage all classes in the preschool, including class names, size, grade levels, and assigned teachers.
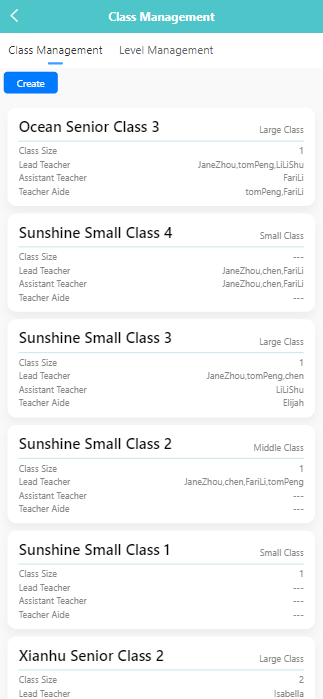
🔍 Viewing Class Information
- All existing classes are listed under the Class Management tab by default.
- Each class card displays the following information: • Class Name • Grade Level • Class Size • Assigned Lead Teacher(s), Assistant Teacher(s), and Teacher Aide(s)
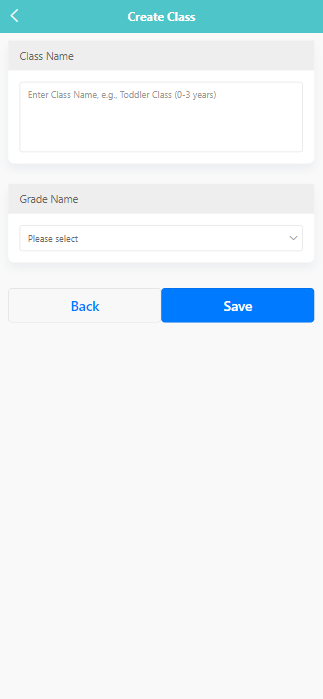
➕ Creating a New Class
-
Click the 【Create】 button.
-
Enter the class name in the 【Class Name】 field (e.g., “Toddler Class (0–3 years)”).
-
Select the grade level from the 【Grade Name】 dropdown menu (e.g., “Large Class”, “Middle Class”, etc.).
-
Click 【Save】 to complete the creation.
✏️ Editing an Existing Class
-
Long press on the class entry to open the action menu.
-
Select 【Edit】.

-
Modify the class name or grade level as needed.
-
Click 【Save】 to update the changes.
🗑️ Deleting a Class
- Long press on the class entry to open the action menu.
- Select 【Delete】.
- A system prompt will appear asking “Are you sure you want to delete the class?”
- Click 【OK】 to confirm or 【Cancel】 to abort.
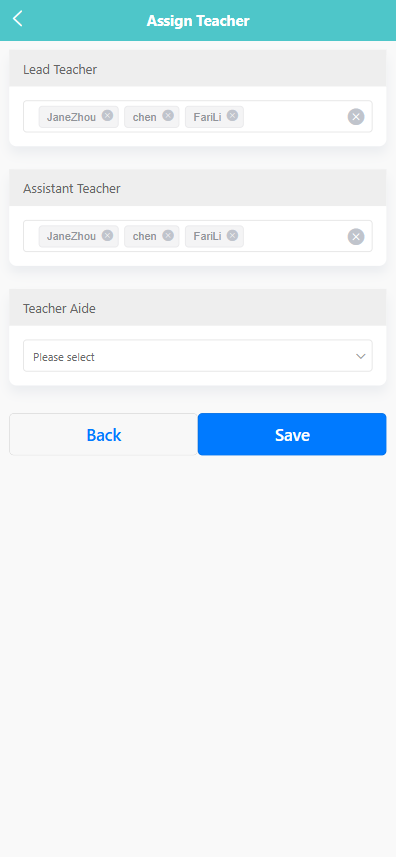
🔧 Assigning Teachers to a Class
-
Click a class card to assigning teachers to a class.
-
On the edit screen, scroll to the teacher assignment section.
-
Under each category, select the appropriate staff members: • Lead Teacher – Select one or more lead teachers. • Assistant Teacher – Select assistant teachers. • Teacher Aide – Choose a staff member responsible for classroom care routines.
-
Tap 【Save】 to apply the changes.